Starting & Charging Diagnostics

Is it a dead battery, a failing alternator, or a shot starter? Before you buy parts or call for a tow, use this practical guide to narrow down the problem safely and prevent costly electrical damage.

1. The Jump-Start Test

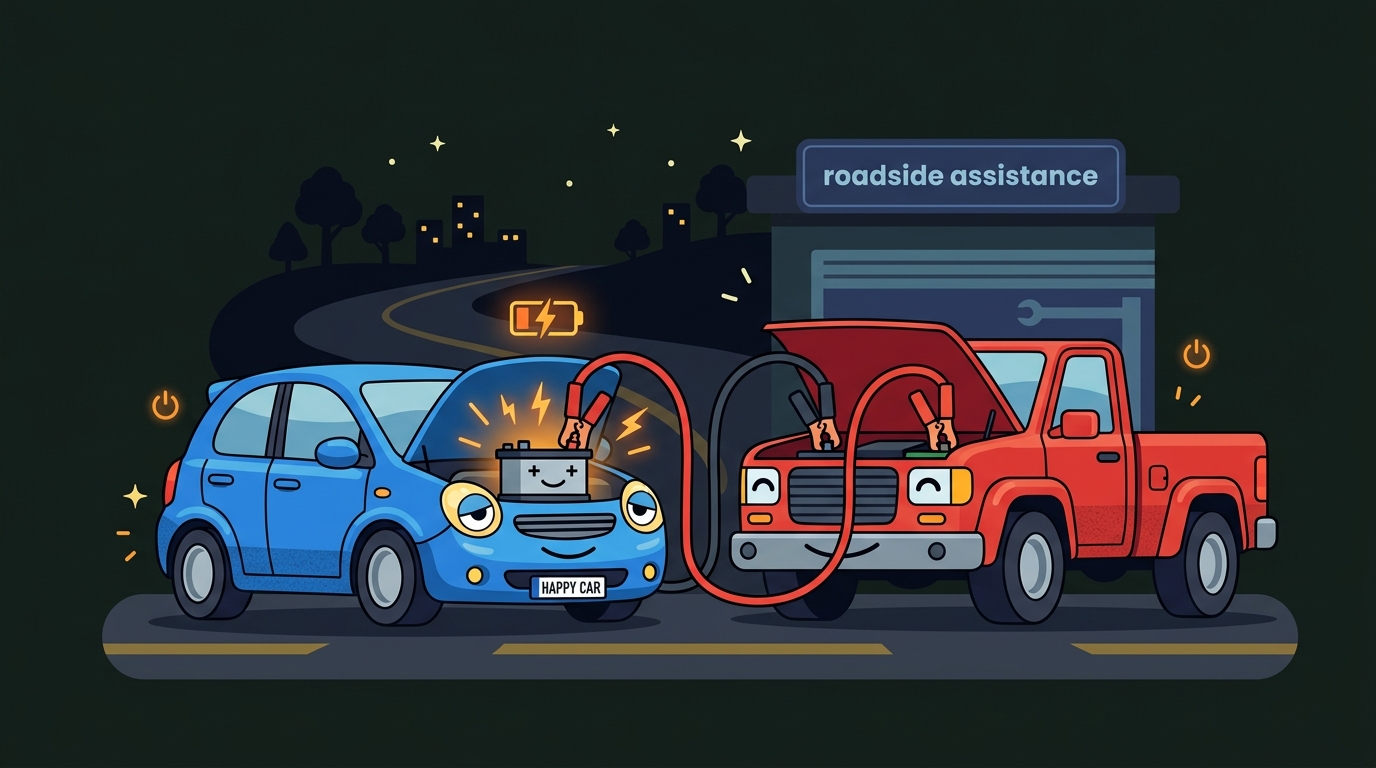
When your vehicle refuses to start, performing a jump-start (boosting) is more than a recovery method—it acts as a diagnostic test to identify which core component has failed.

By connecting an external booster battery and observing your vehicle's behavior, you can isolate the battery, alternator, or starter.

Diagnostic Results

  • Starts & Keeps Running: If the vehicle starts with a boost and continues running after you disconnect the jumper cables, the culprit is most likely the battery. The alternator is successfully keeping the engine running, but the battery can no longer hold a charge.
  • Starts, then Dies Immediately: If the engine dies the moment the booster cables are disconnected, the issue is almost certainly the alternator. It is not producing enough current to support the engine's ignition system on its own.
  • No Response at All: If the vehicle makes no sound, clicks, or fails to crank even with a good booster source connected, the fault lies with the starter motor or starter solenoid (assuming no wiring breaks).
Jump start diagnostic cartoon
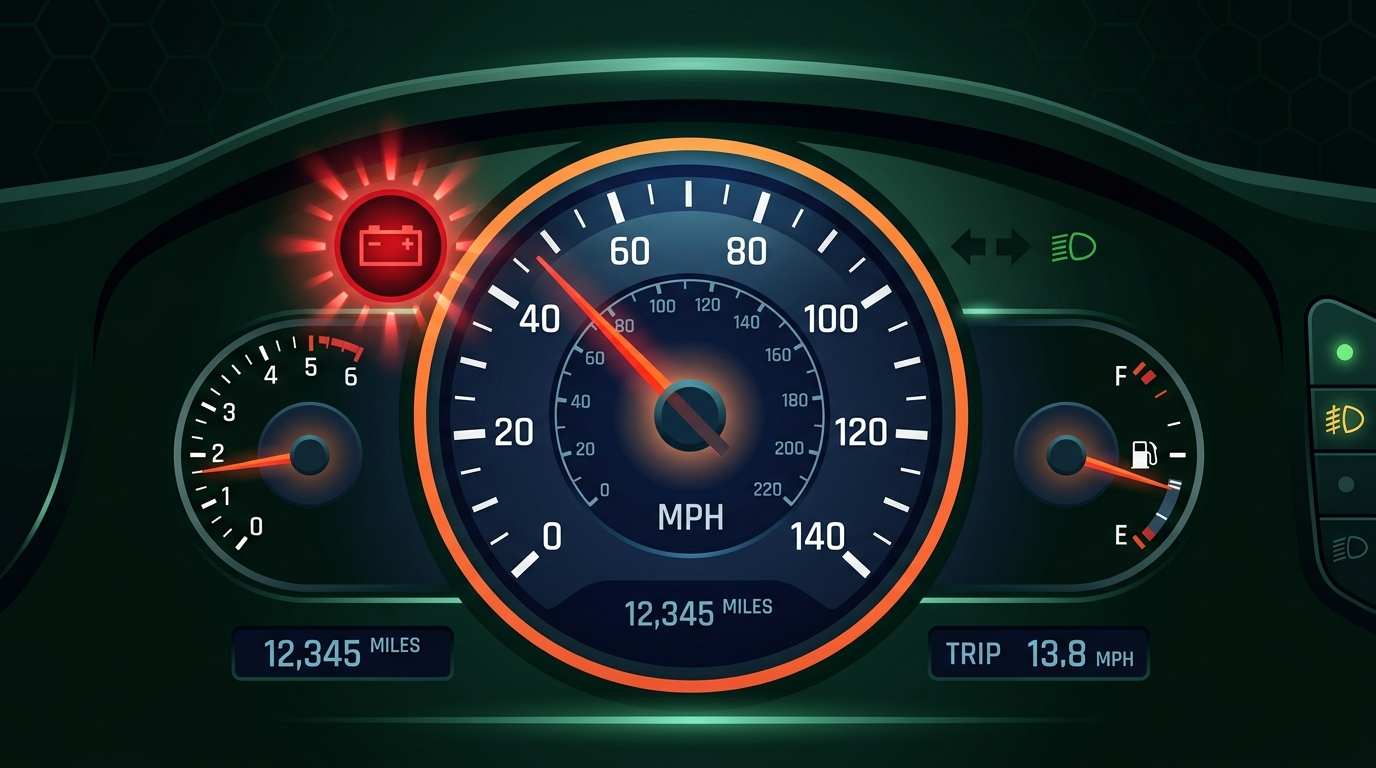
Blinking battery warning light cartoon

2. Flickering Dashboard Battery Light

A solid red dashboard battery light signals a total charging system failure. However, a light that flickers, blinks on and off, or illuminates intermittently points to a very specific condition: worn or short alternator carbon brushes.

The brushes deliver excitation current to the rotor's slip rings. As they wear down to their limit, they lose spring tension and begin to bounce, breaking electrical contact and triggering the blinking warning light.

Important: Do Not Wait

Do not wait for the light to stay on permanently. Bouncing brushes generate micro-arcs of electricity under load. This electrical arcing creates intense heat that will score, pit, or completely melt the copper slip rings on the spinning rotor. Replacing a brush set or rebuilding early is a cheap fix; waiting will ruin the rotor, requiring a far more expensive complete alternator replacement.

3. Never Disconnect Battery Cables on a Running Engine

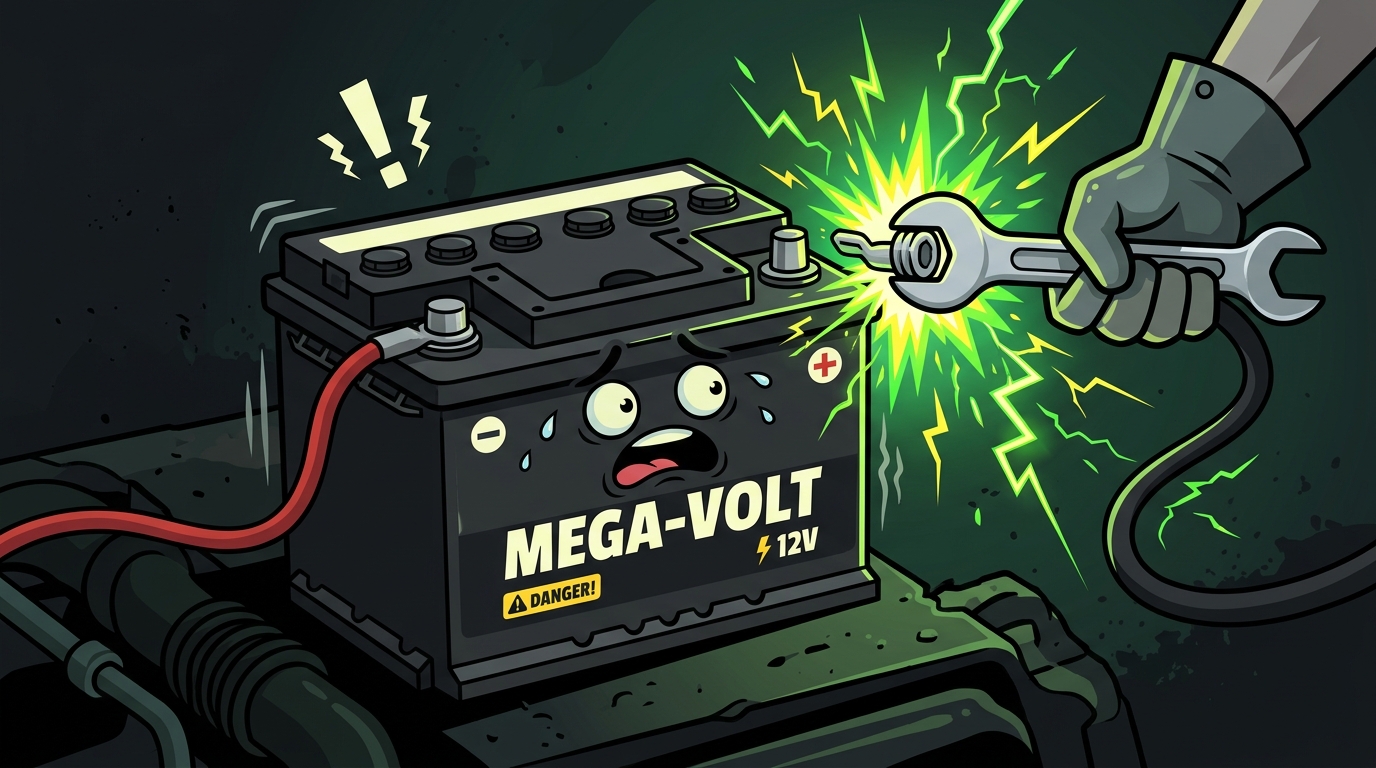
An old diagnostic method suggested removing a battery cable while the engine was running: if the car stayed running, the alternator was "good." Never perform this test on a modern vehicle.

⚠️ Electrical Danger Notice

The Shock Absorber Effect: The battery acts as a massive electrical capacitor that absorbs and stabilizes voltage spikes from the alternator.

Why it destroys components: When a cable is removed while the engine is running, the battery's stabilizing load disappears. The alternator's rotor field and voltage regulator cannot react instantly, creating voltage-regulation instability and a sudden load-dump transient that can drive system voltage far above its normal range.

Without the battery there to buffer this surge, the voltage spikes instantly. This surge fries variables in the Engine Control Unit (ECU/ECM) and burns out sensitive digital sensors, resulting in severe electronic damage.

Disconnecting battery cable warning cartoon
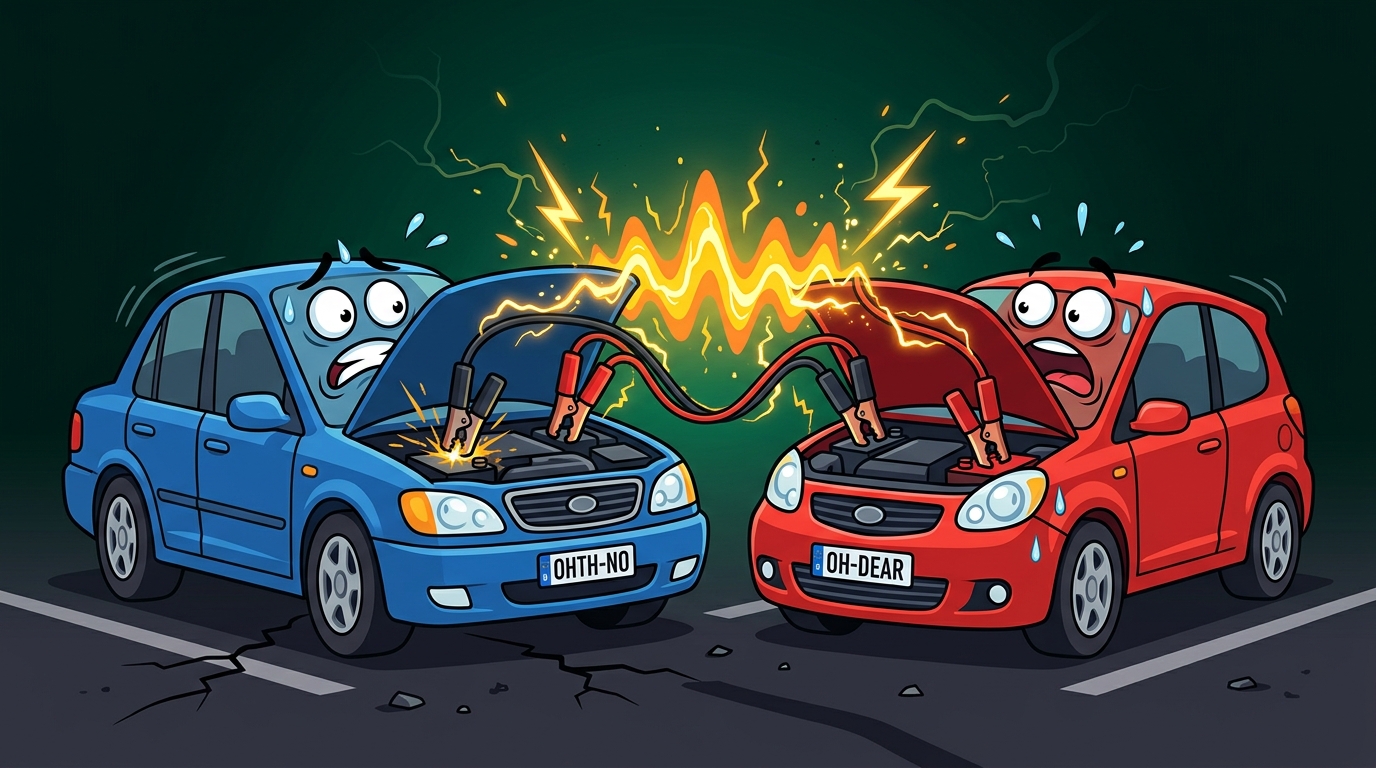
Helper vehicle alternator surge cartoon

4. Avoid Boosting with the Helper Engine Running

It is common practice to leave the helper vehicle's engine running while jump-starting another car. However, doing so exposes both vehicles to dangerous voltage spikes.

⚠️ Voltage Spike Hazard

When the dead vehicle attempts to crank, it draws a massive electrical load (often 200+ amps) through the jumper cables.

If the helper car is running, its alternator regulator detects this massive drop and instantly spikes its output to maximum to stabilize the system.

When the dead vehicle starts (or the jumper cable clamp slips off), this huge electrical draw vanishes instantly. The sudden "load dump" causes a severe voltage spike. This spike feeds backward, destroying ECM settings and sensitive digital components in either vehicle.

5. Checking Connections & Corrosion

Before purchasing parts, always inspect the simplest and most common source of electrical starting and charging failure: the battery terminals.

1. Inspect for Corrosion Look for green, blue, or white powder (lead/copper sulfate) on the terminals. This powder acts as an electrical insulator, blocking power to the starter and preventing the alternator from recharging the battery.
2. Check for Loose Clamps Gently try to twist the battery cable clamps by hand. If a clamp moves or twists on the post, it is too loose. A loose terminal creates high resistance, leading to heat buildup and starting failures.
3. Safe Cleaning Procedure Turn off the engine. Disconnect the negative terminal first, then the positive. Clean posts and clamps using a wire brush and a mixture of baking soda and water. Reinstall clamps, tighten securely, and apply a thin layer of terminal protector grease.

Need Professional Parts or Service?

If you've narrowed down the issue and need a replacement starter, alternator, or carbon brushes, A&J Summit Ridge is ready to support you with expert advice, rebuilding, and parts sourcing.